
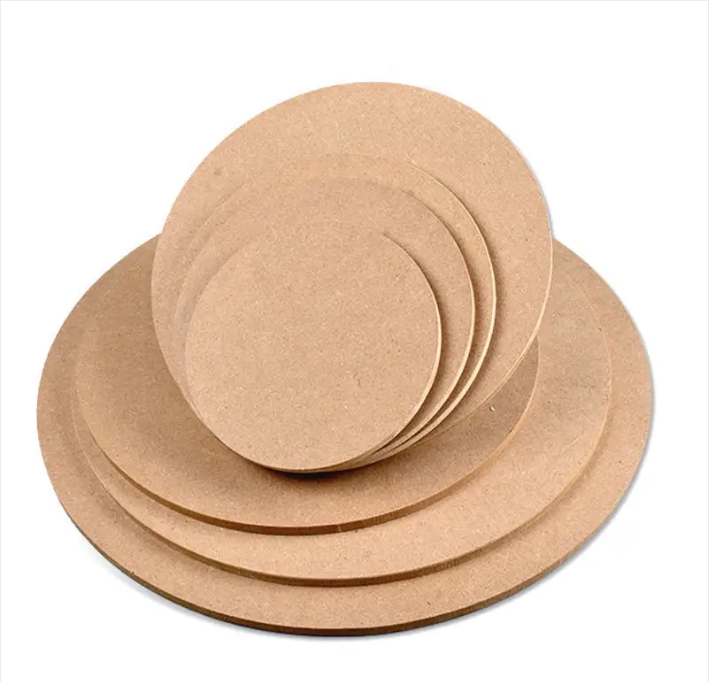

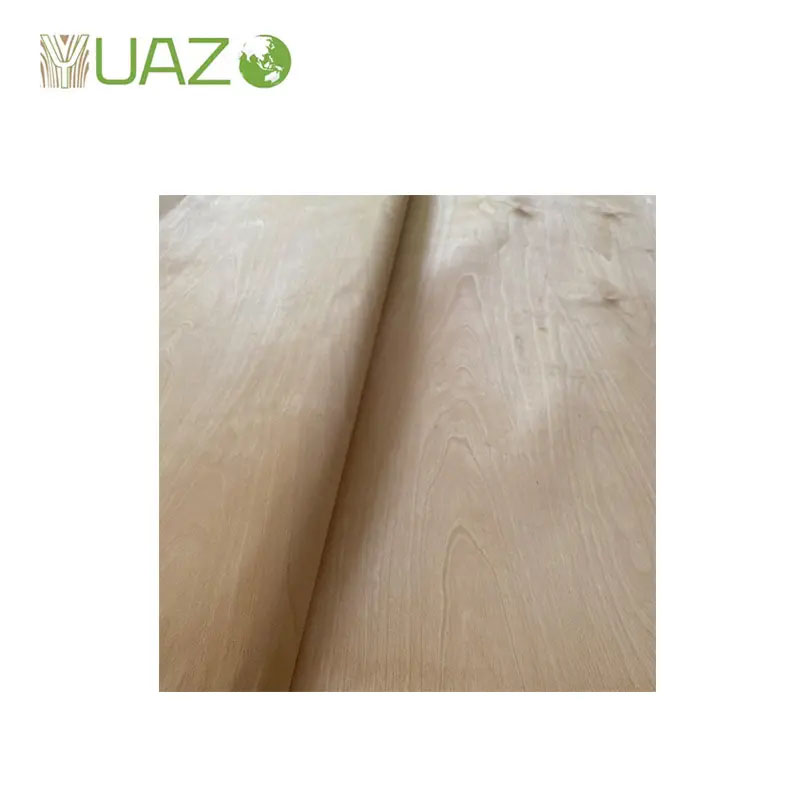

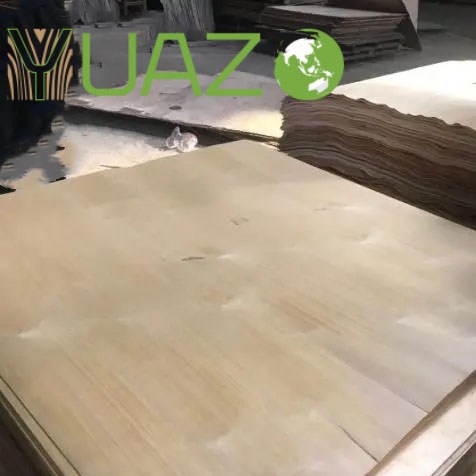
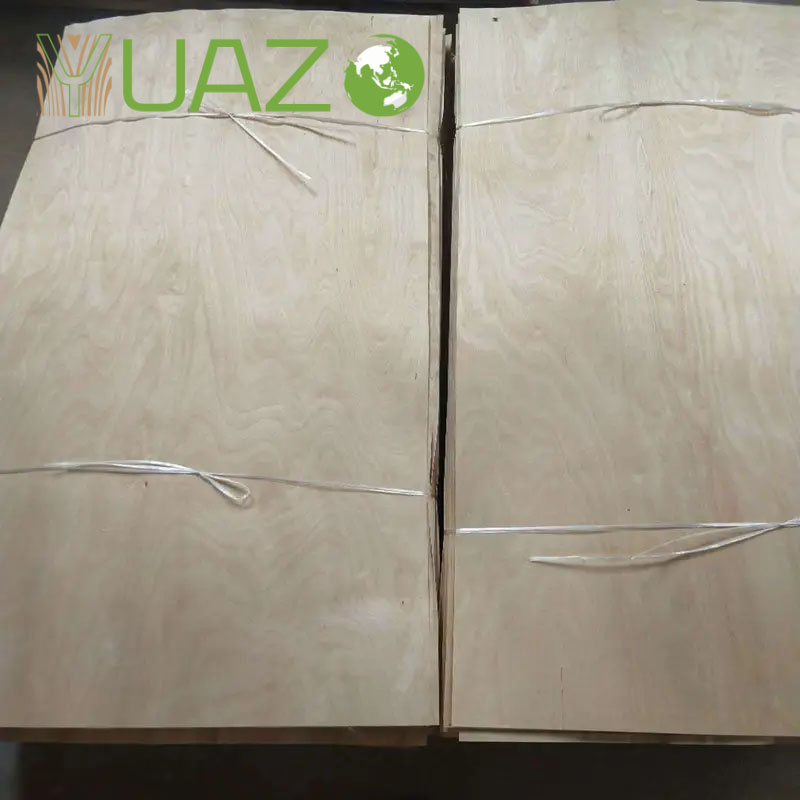
Birch veneer
| Size |
4x8,4x7, 3x7, 4x6, 3x6 or as required |
|---|---|
|
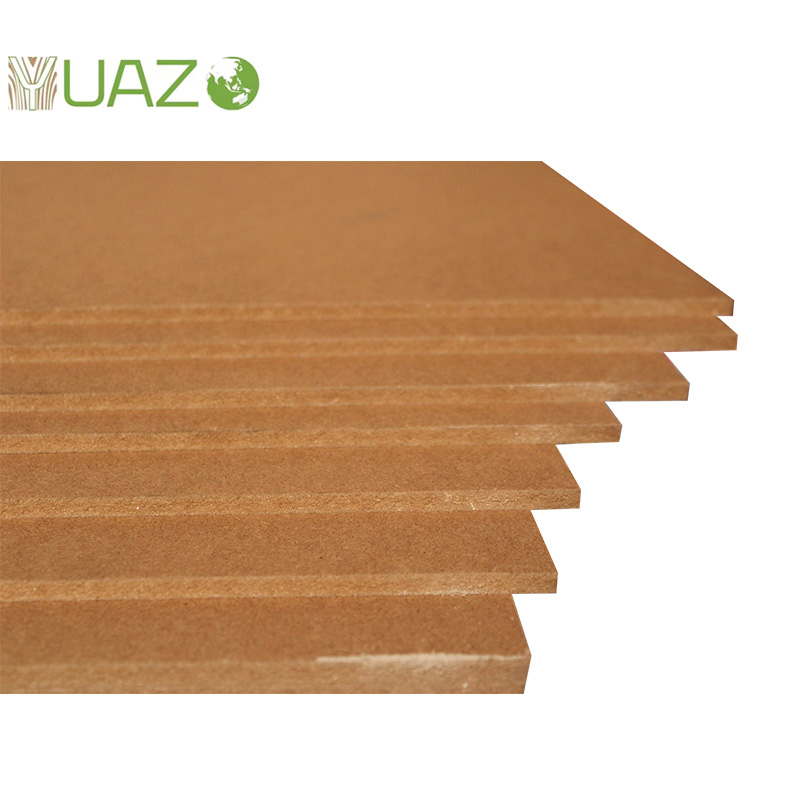
Thickness |
0.1mm-1mm/0.15mm-3mm |
|
Grade |
A/B/C/D/D |
|
Grade features |
|
|
Grade A |
No discolor allowed, no splits allowed, no holes allowed |
|
Grade B |
Slight color tolerance, slight splits allowed, no holes allowed |
|
Grade C |
Medium discolor allowed, split allowed, no holes allowed |
|
Grade D |
Color tolerance, splits allowed, within 2 holes diameter below 1.5cm allowed |
|
Packing |
Standard export pallet packing |
|
Transport |
By break bulk or container |
|
Delivery time |
Within in 10-15 days after receiving deposit |

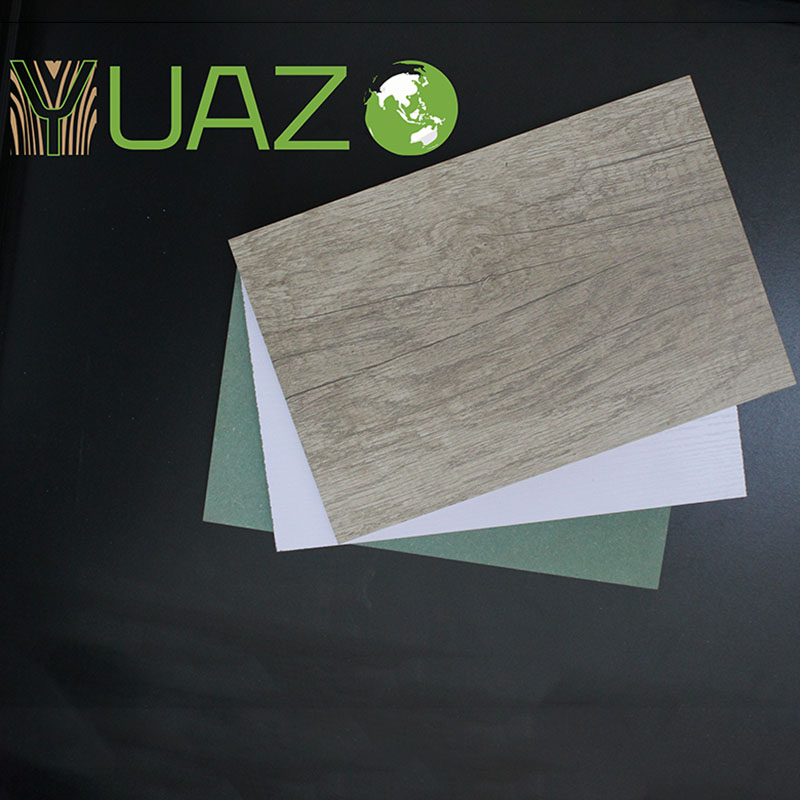
As a natural material, veneer needs to be attached to other materials to play its decorative role. The most common method of use is to press veneer onto artificial boards or finger-jointed boards to create veneer panels, which are then processed into furniture.
If the thickness of the veneer is less than 0.3mm, you can use latex or all-purpose glue; if the thickness of the veneer exceeds 0.4mm, it is best to use strong glue.
Manual veneer steps:
1. Soak the veneer completely.
2. Polish the surface of the object to be pasted clean and smooth, and apply glue.
3. Stick the wood veneer on the object, smooth it out in the right position, and then gently scrape it smooth with a scraper.
4. Wait for the veneer and glue to dry, then iron the veneer with an iron to make it completely adhere to the surface of the base layer.
5. Use a sharp blade to cut off the excess veneer along the edge.